
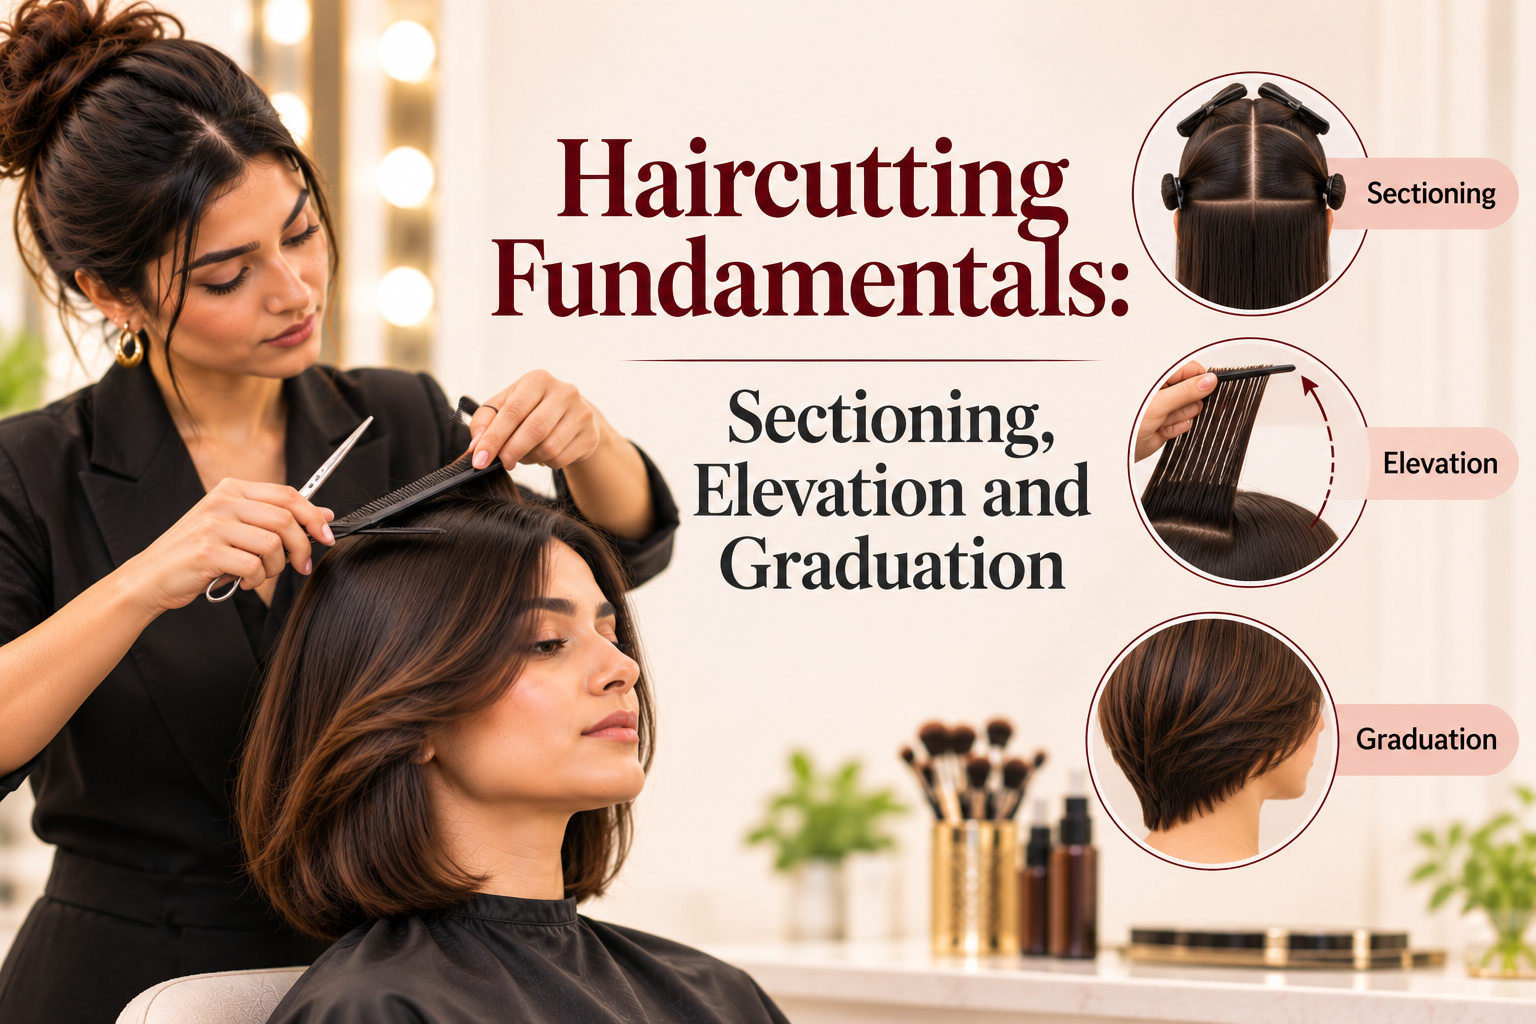
Most beginner haircuts go wrong in the same way. The scissors are sharp, the intention is good, and the result is uneven. It looks like a skill problem, but it is usually a method problem. The stylist skipped the setup, held the hair at the wrong angle or lost the guideline halfway through. So what are the fundamentals of haircutting? Three ideas sit under almost every cut. Sectioning divides the hair so you can work in a controlled order. Elevation is the angle you lift the hair away from the head before cutting. Graduation is a build-up of weight created when you cut shorter underneath and longer on top. Learn these well, and any haircut becomes a combination of familiar steps.
Before You Cut: The Basics
Good cuts begin before the scissors come out.
- Consult first: Check texture, density, growth patterns and the client’s styling habits. See our hair consultation post.
- Work on clean, damp hair: Work on hair that is evenly wet. Dry or partly dry sections cut differently.
- Use sharp, clean scissors: Along with them, use a fine-tooth comb. Sanitise tools between clients.
- Check posture and head position: Keep the client’s head straight and balanced, unless the technique calls for a tilt.
- Keep your own body relaxed: Stand with your weight even, and move around the client instead of twisting your wrists.
Part 1: Sectioning
Sectioning means dividing the hair into manageable, clean areas so you can cut with control and consistency.
Why it matters
- You see what you cut, and you do not miss patches
- Hair is held in the same way each time
- The finished shape is balanced
- You can compare both sides easily
Common sectioning patterns
| Pattern | How it is divided | Often used for |
| Four sections (quadrants) | Centre part from forehead to nape, then ear to ear across the crown | Most basic cuts, bobs, layers |
| Perimeter (outline) section | A band of hair around the hairline | One-length cuts and shape lines |
| Nape, side and crown sections | Hair divided by area of the head | Graduation and layered cuts |
| Fringe section | A triangle at the front hairline | Fringes and framing pieces |
Tips for clean sectioning
- Use a tail comb to make straight, neat partings.
- Clip each section firmly, so loose hair does not fall in.
- Work in small subsections from the section you have released, usually about a finger’s width or thinner for precision work. Thick subsections hide errors.
- Start where the cut begins, usually at the nape, and move upward and forward.
- Check both sides after every few subsections.
Part 2: Elevation
Elevation is the angle at which you lift the hair away from the head when you cut it. It decides how the length and weight are spread.
Think of the head as a ball. Hair held down against it stays heavy and falls into one line. Hair lifted straight out from it is cut with different lengths, so it falls in layers.
Common elevation angles
| Elevation | What it looks like | Result |
| 0° (natural fall) | Hair combed straight down against the head | A solid, one-length line with weight at the perimeter, such as a blunt bob |
| 45° | Hair lifted a little off the head | Graduation: weight builds gradually, and the shape has a stacked, rounded look |
| 90° | Hair lifted straight out, at right angles to the head | Uniform layers, with similar length throughout |
| Above 90° to 180° | Hair lifted higher, up to straight above the head | More layers, with shorter hair at the top and longer hair at the perimeter, such as long layers |
The Key Rule
The higher you lift, the more layered the shape. Lower elevation keeps weight at the edge, and higher elevation removes weight and builds movement.
Hold the angle consistently. If you drift between 45° and 90° partway through a section, the line will go uneven, and you will not see it until it is dry.
Part 3: Graduation
Graduation is a technique where the hair is cut shorter at the nape or inside and longer towards the outside or the top, so the lengths “stack” and build weight. The classic example is a graduated bob, where the back is shorter and rounded while the length at the front stays longer.
What graduation does
- Builds shape and fullness at the back or sides
- Creates a rounded, structured silhouette
- Removes bulk from the nape while keeping weight on the outer line
- Gives fine hair more body, when used carefully
How it differs from layers
| Graduation | Layers | |
| Main effect | Weight is stacked and built | Weight is removed and movement added |
| Typical elevation | Low to medium, often around 45° | Around 90° and above |
| Hair length | Longer lengths sit on top of shorter ones, hiding them | Lengths are shorter on top and longer underneath, so they are blended |
| Typical look | Rounded, solid and structured | Soft, textured, flowing |
You can combine the two. Many modern bobs use graduation at the back and layers on top.
Steps For A Basic Graduated Shape
Always follow the method your school teaches. A common framework looks like this:
- Section the hair into four quadrants, and then release the nape.
- Set a guideline at the centre nape, cutting the shortest length you plan to use.
- Take horizontal or diagonal-back subsections and lift them to a low elevation, usually around 45°.
- Cut to the guideline, keeping the finger angle and tension even.
- Work upwards and around the head, checking that each subsection links to the one below.
- Move to the sides and connect to the back with the same elevation and distribution.
- Check balance, cross-check by cutting a subsection in a different direction to spot differences.
The Building Blocks Together: Four Basic Forms
Once you know sectioning, elevation and graduation, you can build the four classic haircut forms.
| Form | Elevation | Result | Example |
| Solid (one length) | 0° | Even length, weight at the perimeter | Blunt bob, one-length cut |
| Graduated (increase in length) | Around 45° | Weight builds towards the outside | Stacked or graduated bob |
| Uniform layers | 90° | Even lengths throughout | Layered cut with consistent texture |
| Increase layers | Above 90° | Shorter on top, longer at the ends | Long layers, shag-style shapes |
Four Other Details That Affect Accuracy
- Tension: The pull you apply when holding hair. Too tight, and the hair springs back shorter when released. Use even, gentle tension, especially on wet, wavy or curly hair.
- Guideline: The first length you cut, which every following section follows. A stationary guideline stays in place, and a travelling guideline moves with you as you work.
- Distribution: The direction you comb the hair before cutting, for example straight out from the head or pulled to one side. It changes the final shape.
- Cutting line: The path of the scissors, such as straight, curved or diagonal. A diagonal line creates a longer front and shorter back, for example.
Texture And Curl Pattern
Hair types behave differently.
- Straight, fine hair shows every mistake, so work cleanly and check often.
- Wavy and curly hair shrinks when dry, sometimes a lot. Leave extra length, cut in small steps and check the shape as it dries. Many stylists cut curly hair dry or use a combination of methods. Follow your training.
- Thick hair can need more weight removal, but avoid over-layering, which can make it look puffy.
- Heavily damaged hair may not hold a clean line, so discuss trimming options with the client.
Common Mistakes To Avoid
- Skipping the consultation
- Sectioning too loosely, or too thickly
- Changing elevation mid-section
- Using uneven tension
- Cutting too much in one go, especially with fringes
- Not checking symmetry from different angles
- Forgetting that hair dries shorter
- Working with a dull or dirty tool
Safety And Hygiene
- Keep scissors closed and in your hand or holster when not in use
- Cut away from the client’s skin and ears, and use a comb as a guard
- Sweep up cut hair regularly, since it can irritate skin and make floors slippery
- Sanitise scissors, combs and clips between clients
- Do not cut over broken or irritated skin
At LTA School of Beauty, students build haircutting skills step by step, from clean sectioning to precise elevation and graduation. By practising on different hair types and understanding why each angle gives a different result, they are able to plan cuts with confidence and deliver shapes that suit each client.
FAQs
What is elevation in haircutting?
Elevation is the angle at which hair is lifted away from the head before cutting. Lower elevation keeps weight at the edge, while higher elevation removes weight and creates layers. Common angles are 0°, 45°, 90° and above.
What is the difference between graduation and layering?
Graduation builds weight by cutting hair shorter at the nape or inside and longer on the outside, usually at around 45° elevation. Layering removes weight and adds movement by cutting at 90° or above, so lengths blend into each other. Many cuts use both.
Why is sectioning important in a haircut?
Sectioning divides the hair into clear, manageable areas, so you can cut in order, follow a guideline and compare both sides. Clean, secure sections reduce missed hair and uneven lengths.
What are the four basic haircut forms?
They are solid (one length, at 0°), graduated (stacked weight, around 45°), uniform layers (around 90°) and increase layers (above 90°). Most haircuts are a mix or variation of these forms.