
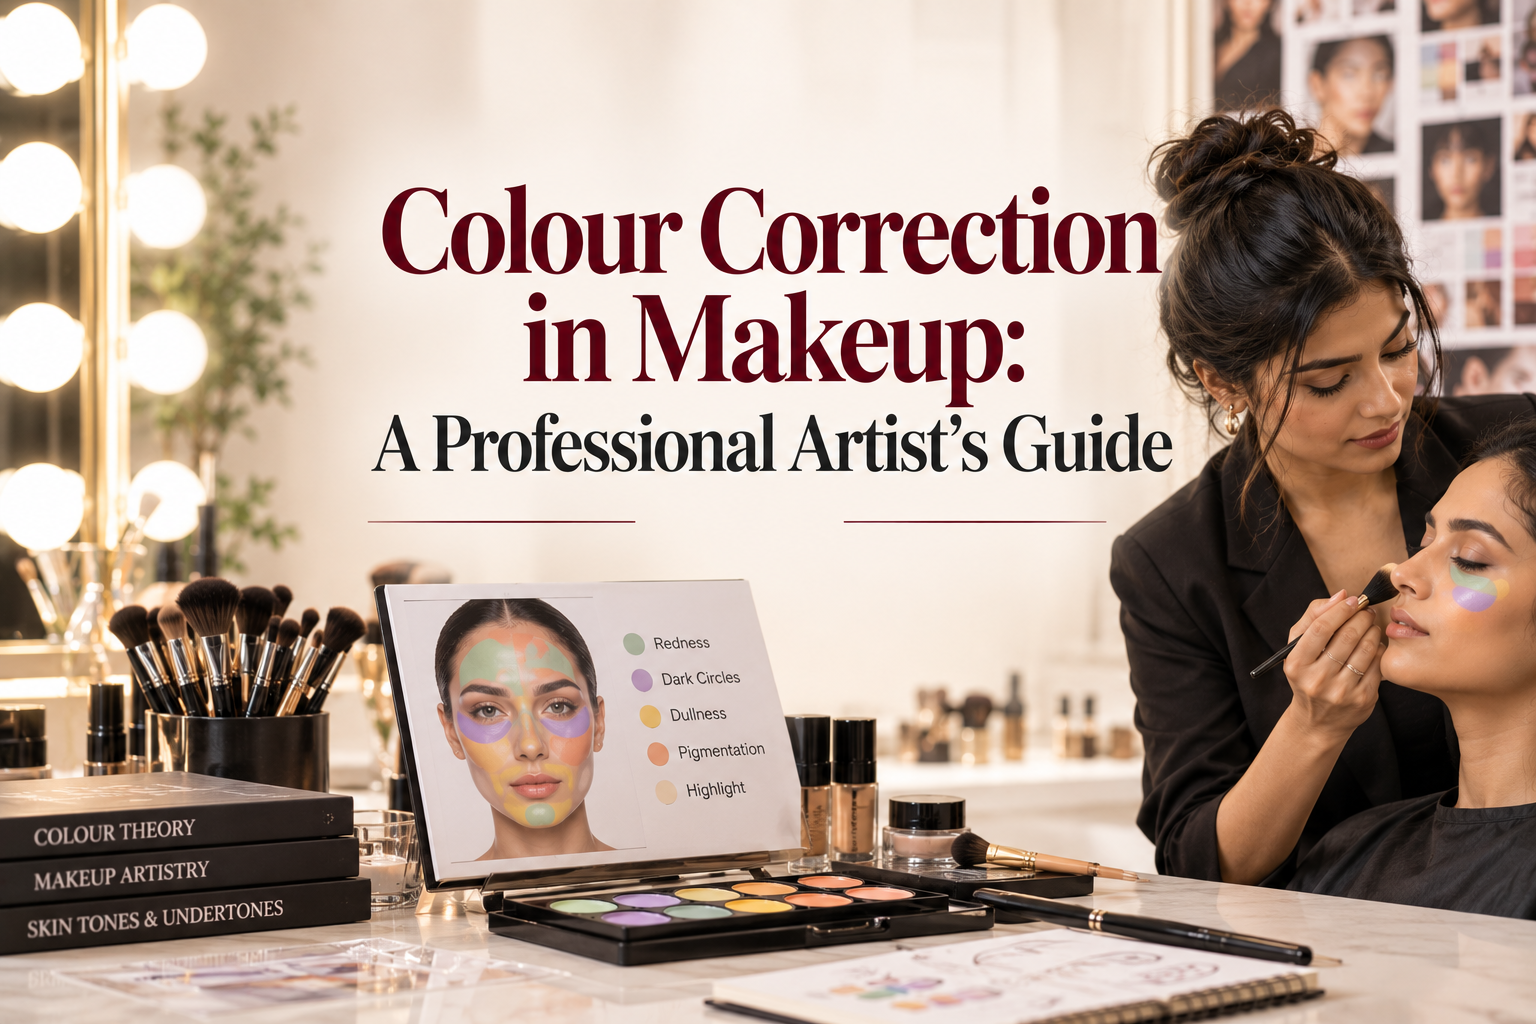
A client has dark circles that show through two layers of concealer. Another has red patches around her nose that foundation keeps turning pink. A third has brown marks on her cheeks that no shade seems to match. Piling on more coverage rarely fixes any of these. The answer is usually to cancel the colour first. So what is colour correction in makeup?
It means using a tinted product, such as green, peach or lavender, to neutralise an unwanted colour on the skin before you apply foundation or concealer. The corrector cancels the colour, and the base then covers what is left. Done lightly, it gives a natural, even finish with less product.
How Colour Correction In Makeup Works
Colours opposite each other on the colour wheel cancel each other out. Red cancels with green. Blue and purple cancel with orange and yellow. Makeup artists use this to neutralise the colour they see on the skin.
The key word is neutralise, not cover. A corrector does not hide a concern completely. It turns an obvious colour into a muted, neutral one, which your concealer can then cover easily.
Which Corrector For Which Concern
| What you see | Corrector to use | Notes |
| Redness, acne marks, flushing | Green | Use a thin layer. Too much turns skin grey or olive |
| Blue or purple dark circles on light to medium skin | Peach or soft orange | The most common under-eye fix |
| Brown or dark circles on medium to deep skin | Orange, deep peach or red-orange | Light peach can look ashy on deeper skin |
| Dark spots, pigmentation and marks | Peach, orange or red-based, depending on depth | Match the corrector to how dark the mark is |
| Sallow, yellowish or dull skin | Lavender or light purple | Works best on fair to medium skin |
| Purple, bluish or veiny areas | Yellow | Useful for visible veins and blue-toned shadows |
| Dullness and a grey cast | Pink or peach | Brightens without changing the whole base |
These are starting points. Always judge the colour you actually see on the client’s skin, in good light.
Step-By-Step: How To Colour Correct
1. Prep the skin. Cleanse, moisturise and apply primer or sunscreen as needed. Correctors cling to dry patches and slide on oily ones, so good prep matters.
2. Identify the concern and the colour. Look at the skin in natural light if you can. Ask: is this red, blue, brown or yellow? How deep is it?
3. Choose the corrector. Pick the colour and the depth, using the chart above.
4. Apply a small amount, only where needed. Use a small brush, sponge or your fingertip to place a thin layer directly on the concern. Do not spread it across the whole area.
5. Pat to blend. Press the product in with a sponge or fingertip, and blend only the edges. Rubbing can lift the corrector and leave streaks.
6. Check the effect. The concern should look muted or neutral, not covered in a visible colour. If you can see the corrector itself, you used too much.
7. Apply foundation and concealer. Use light, pressing motions so you do not wipe the corrector away. Build coverage only where needed.
8. Set. Use a small amount of translucent powder over the corrected areas, then set the full face as usual.
Order of application: Cream correctors usually go on before foundation. For light touch-ups, some artists apply a corrector over foundation and blend it with a small amount of concealer. Test what works best for your products and client.
Colour Correction For Indian Skin Tones
Most guides online are written for fair skin. Indian skin has a wide range of depths and undertones, and it needs a different approach.
- Dark circles are often brown or blue-brown, not purely blue. Peach alone may not be strong enough. Orange, red-orange or a deep peach usually works better.
- Light peach on deeper skin can turn grey or ashy. If the corrector looks chalky, it is too light.
- Pigmentation around the mouth, cheeks and forehead often needs a warmer, deeper corrector in the orange or red family.
- Redness and acne marks can look purplish or brown on deeper skin. A thin layer of green may help with true redness, but test before you commit. Sometimes a deeper, warmer corrector works better.
- Undertones matter. Warm, neutral and cool undertones change how a corrector looks once blended.
- Always match the corrector to the person, not to a chart.
Test on the client’s skin in daylight, wait a minute and look again. Some products shift as they settle.
Choosing And Using Products
- Cream correctors give strong pigment and suit dark circles and pigmentation.
- Liquid correctors are lighter and work for redness and general toning.
- Stick correctors are quick and handy for targeted use.
- Colour-correcting primers tone the whole face lightly.
- Palettes with several shades are useful for professional kits. Include green, peach, orange, red-orange, yellow and lavender if you can, in a range of depths.
Use a small, dense brush or a damp sponge for precision. Keep your tools clean and avoid double-dipping.
Common Mistakes To Avoid
- Using too much product. Thick layers show through foundation as green, orange or grey patches.
- Choosing the wrong depth. Light correctors on deep skin look ashy.
- Colour correcting the whole face when only a small area needs it
- Rubbing instead of patting, which removes the product
- Skipping the set. Cream layers can slide, crease or move
- Judging in poor light. Check the result in natural or neutral daylight.
- Expecting corrector to hide texture. It neutralises colour, not bumps or scars.
- Layering too many products, which looks heavy and cakey
Special Situations
Bridal and event makeup
Long hours, heat and photography call for thin layers and careful setting. Correct lightly, set well and check the look under flash. Corrector that looks fine in person can look different in a photo.
Photography and flash
Flash can reveal an orange or green tint that you did not see in the mirror. Take a test photo before the event, with the same type of light.
Mature or textured skin
Use less product. Heavy correctors settle into lines. Prep with hydration and press the product on gently.
Sensitive or acne-prone skin
Ask about allergies and recent treatments, and patch test if the client has reactive skin. Avoid heavy, pore-clogging formulas on acne-prone skin.
When Dark Circles Are Not A Makeup Issue
Dark circles can have several causes, including genetics, tiredness, allergies and pigmentation. Makeup can help conceal them, but if a client says they have changed suddenly or come with swelling or other symptoms, suggest a visit to a doctor.
At LTA School of Beauty, students learn how colour behaves on different skin tones and how to apply that knowledge in real client work. By practising correction on a range of faces and lighting conditions, they are able to deliver a natural, balanced finish with confidence.
FAQs
What colour corrector should I use for dark circles?
It depends on the colour of the circles and the skin tone. Peach or soft orange works for blue or purple circles on light to medium skin. Medium to deep skin with brown or blue-brown circles often needs orange, deep peach or red-orange. Test the shade in daylight.
Does green corrector cancel redness?
Yes, in a thin layer. Green sits opposite red on the colour wheel and neutralises it. Use a small amount only on the red area, since too much can leave a grey or olive tone.
Do you apply colour corrector before or after foundation?
Cream correctors usually go on before foundation, on prepped skin, and are then covered with foundation and concealer. For light touch-ups, some artists apply a corrector over foundation and blend gently. Use thin layers and set with powder.
Can I colour correct Indian skin tones with the same shades used for fair skin?
Not always. Light correctors can look ashy on deeper skin, and Indian skin often has brown or blue-brown concerns that need orange, deep peach or red-orange tones. Match the corrector to the skin’s depth and undertone, and test it in natural light.