
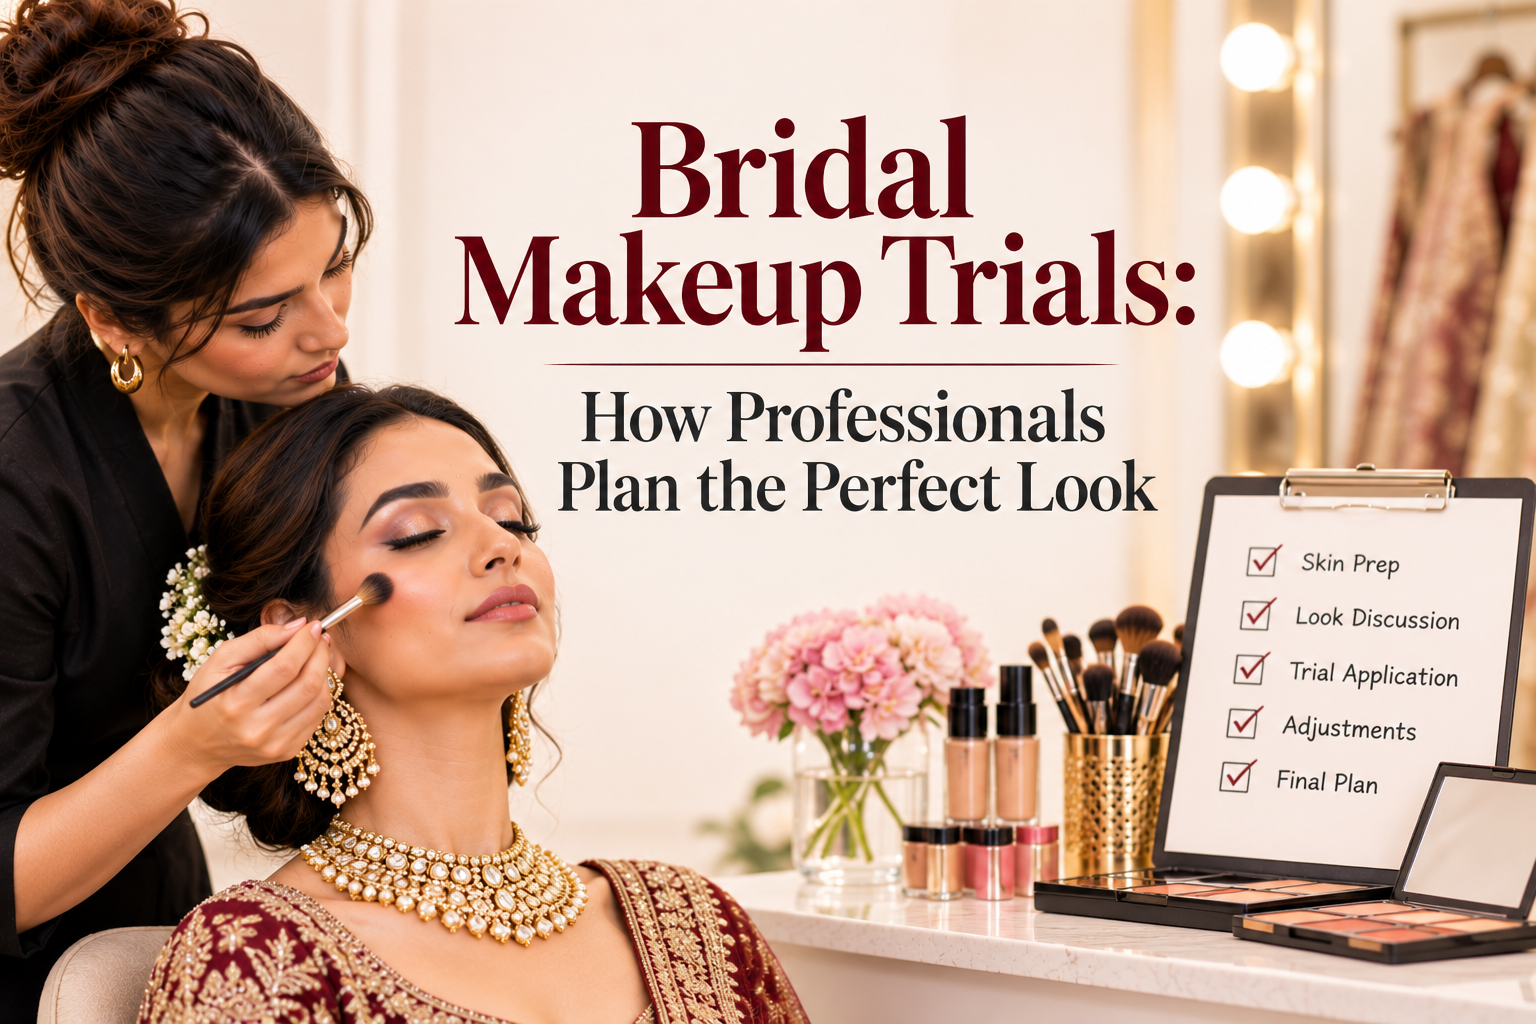
A bride sits in your chair weeks before her wedding. She has a folder of reference photos, an outfit she has not fully shown you and a lot of nerves. The bridal makeup trial is where you turn all of that into a plan.
So what is a bridal makeup trial for? It is a planned session where you test the look, the products and the timing before the wedding. It checks that the makeup suits her skin, lasts through her day, photographs well and matches what she imagined. A good trial removes surprises, and a rushed one creates them on the wedding morning.
Why The Trial Matters
For the bride, a trial answers one question: “Will I like what I see on the day?” For you, it answers many:
- Does her skin react to any product?
- Which base and shades work in her light and her photos?
- How long does the full look take?
- Does the look survive heat, tears and long hours?
- Do the makeup, hair, outfit and jewellery work together?
Without a trial, you are guessing on the one day that cannot be repeated.
Before The Trial: Planning
Pick the right date
Many artists schedule trials a few weeks before the wedding, so there is time for changes, but not so early that the bride’s skin, hair colour or outfit might change. Avoid scheduling a trial right after a facial, peel, threading or any new treatment, since skin can be sensitive or irritated.
Collect information first
Send a short questionnaire or ask in a call:
- Wedding date, time and venue (indoor, outdoor, daytime or evening)
- All events needing your services: mehendi, sangeet, haldi, wedding, reception
- Outfit colours and fabrics for each event, and jewellery
- Hairstyle plan, and whether she is wearing a dupatta or veil
- Reference photos she likes and ones she does not
- Skin type, concerns, allergies and recent skin treatments
- Any religious or family expectations that affect the look
Ask for photos of the outfit and jewellery, if possible. A mood board helps you both see the same picture.
Do a skin and patch check
Ask about allergies, sensitivities and reactions to past products. For brides with sensitive skin or a history of reactions, do a patch test on a small area a few days before, and avoid trying completely new products on the wedding day. See our post on consultation forms and patch tests.
Prepare your kit
Pack products in several shades and undertones for the bride’s skin, plus colour correctors, setting products, lashes, tools, wipes and disposables. Clean and sanitise everything. Wear fresh gloves where appropriate and use disposable applicators for eyes and lips.
During The Trial: Step By Step
1. Start with a conversation. Look through her references. Ask what she likes about each look: the eyes, the lips, the base, the glow? Her words matter more than the photo.
2. Check skin and prep. Cleanse, moisturise, apply sunscreen if needed and prime. Note how her skin behaves as the trial goes on.
3. Choose and test the base. Swatch shades on the jaw or cheek, and check in natural light, since indoor lighting can mislead. Apply in thin layers and wait a few minutes to see how the product settles. Colour correct only where needed, using the guidance in our colour correction post.
4. Build the look in stages. Do the eyes, brows, blush, highlight and lips. Check in with the bride at each step, so she has a chance to say “a little softer” or “more colour.”
5. Check in different lights. Look at the finished face in daylight, in indoor light and under flash. Make-up that looks perfect in the mirror can look flat or ashy in photos.
6. Include the hair and draping if you can. If you also handle hair, try the style with the dupatta, veil or jewellery in place, since they affect how the face is framed.
7. Take photos. With the bride’s consent, photograph the look from several angles and in different lights, without filters. These help you recreate the look and help the bride decide.
8. Test the staying power. If possible, leave the makeup on for a few hours, or ask the bride to send photos later in the day. Note what faded, creased or shifted.
9. Time everything. Record how long each step takes, including breaks. Use this to build the wedding day timeline.
What To Record
Write down all of the following. Do not rely on memory.
| Record | Why |
| Products, shades and brands used | To recreate the look exactly |
| Order of application | To save time and keep results consistent |
| Total time taken | To plan the wedding morning |
| Skin reactions or sensitivities | To avoid problems |
| Bride’s feedback and changes | To finalise the look |
| Photos in different lights | To confirm and compare |
| Outfit, jewellery and hairstyle notes | To keep the full look aligned |
| Touch-up plan | To prepare for a long day |
How To Handle Feedback
Brides often feel unsure, and family opinions can pile in. Stay calm.
- Listen without defending. “Tell me what feels off” works better than “but this is what you asked for.”
- Ask for specifics. “Too heavy” could mean the base, the eyes or the lips.
- Offer a small change, not a total redo, where you can. Soften a shade, adjust the blush or change the lip colour.
- Explain the reason for your suggestions. If a colour will look different in photos, show her on the camera.
- Be honest about limits. If a look will not last through a long ceremony, tell her.
- Confirm the final look before she leaves, and ideally in writing or with a photo.
If she wants something very different from the first plan, it is better to try a second version during the trial than to promise it on the day.
Beyond The Face: Details People Forget
- Neck and chest: The face should match the neck, especially with low necklines and heavy jewellery.
- Hands and feet, if she is showing mehendi or alta
- Sweat and heat: Plan for hot venues, long rituals and crowded rooms. Use thin layers, set well and carry blotting papers.
- Tears and emotion: Waterproof eye products help during emotional moments.
- Touch-up kit: Decide what the bride, a family member or you will carry, and who will use it.
- Photography and video: Ask whether there will be flash, bright lights or filming, and check the look under similar conditions.
- Multiple events: Plan how each look connects, since the bride will be photographed across several days.
After The Trial
- Send a short summary with the finalised look, timing and any aftercare, such as sleep, hydration and skincare advice for the days before.
- Remind her to avoid new products and treatments just before the wedding.
- Confirm the wedding day timeline, including start time, travel and buffer.
- Check in a few days before to see how her skin is doing.
Common Mistakes To Avoid
- Skipping the trial for a “simple” look
- Doing the trial in poor or very different light from the wedding venue
- Not taking photos or notes
- Letting too many opinions into the room
- Using products on the trial that you will not use on the day
- Not timing the trial
- Ignoring skin reactions
- Promising changes you cannot deliver
- Forgetting the outfit and jewellery
At LTA School of Beauty, students learn to plan looks around the client’s skin, the occasion and the lighting. By practising consultations, product testing and clear communication, they are able to run trials with confidence and prepare brides for a look that lasts through the day.
FAQs
When should a bridal makeup trial be scheduled?
Many artists schedule it a few weeks before the wedding, which leaves time to adjust the look without risking changes in skin, hair colour or outfit. Avoid booking it right after a facial, peel or other treatment that could leave skin sensitive.
What should a bride bring to a makeup trial?
Reference photos, outfit and jewellery pictures (or the pieces themselves), details of her hairstyle plan, and any information about allergies or recent skin treatments. If she wears a dupatta or veil, she should bring it so you can check the full look.
How long does a bridal makeup trial take?
It depends on the look and whether hair is included. It is usually close to the time of the actual wedding application, since timing is part of what you are testing. Record how long each step takes and use it to plan the wedding morning.
What if the bride doesn’t like the trial look?
Ask her what feels off, such as the base, eyes, lips or overall intensity, and make small adjustments. If the change is big, try a second version during the same session or schedule a short follow-up. Take photos of the final look so everyone agrees on it.